
This post is from a multi-part series titled “Hexagonal Bokeh Blur Revisited”. Want to jump directly to the index? If so, click here.
So far, we’ve shown how to build a separate hexagonal blur in two passes. While the shape is interesting in its basic form, one can definitely change it.
For example: rotation!
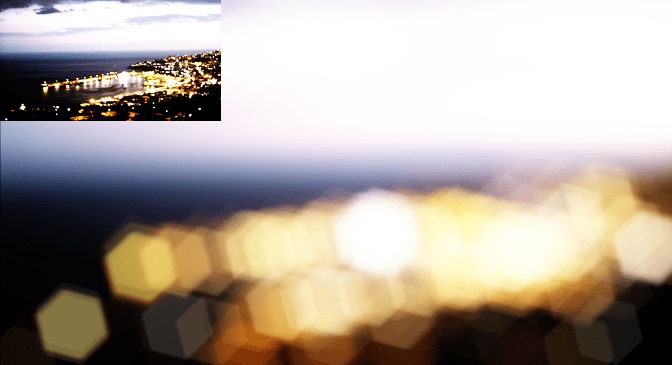
 Rotated Hexagonal Bokeh Depth-of-Field in Ghost Recon Wildlands
Alternatively, works really nicely with a ton of them!
Separable Hexagonal Bokeh Blur – Demo On Github
It’s Actually Quite Simple…
While this might sound obvious to many of you out there, I’ve had 2 people mention on separate occasions that they had issues achieving this. Might be with the way they approached the hexagonal blur, but with our separable approach it’s actually quite simple.
Just offset your angles and let the trigonometry do its magic.
float2 blurDir = coc * invViewDims * float2(cos(angle + PI/2), sin(angle + PI/2));

2 thoughts on “Hexagonal Bokeh Blur Revisited – Part 3: Additional Features: Rotation”