This post is from a multi-part series titled “Hexagonal Bokeh Blur Revisited“. Want to jump directly to the index? If so, click here.
The code below demonstrates the most straightforward way to achieve this blur. It is done in 3 passes.
Step 0 – Blur Function
First, let’s define our blur function. This will be reused along the way.
float4 BlurTexture(sampler2D tex, float2 uv, float2 direction)
{
    float4 finalColor = 0.0f;
    float blurAmount = 0.0f;

    // This offset is important. Will explain later. ;)
    uv += direction * 0.5f;

    for (int i = 0; i < NUM_SAMPLES; ++i)
    {
        float4 color = tex2D(tex, uv + direction * i);
        color *= color.a;
        blurAmount += color.a;
        finalColor += color;
    }

    return (finalColor / blurAmount);
}
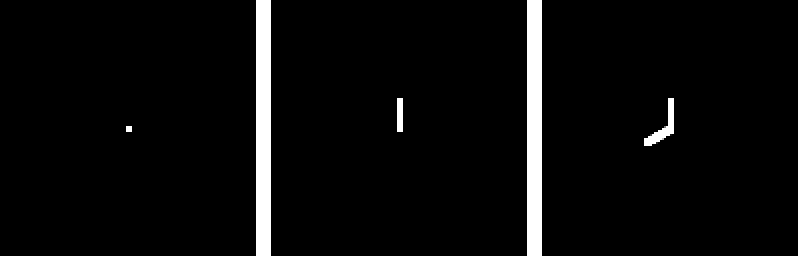
Step 1 – Vertical Blur
First, we blur vertically.

// Get the local CoC to determine the radius of the blur.
float coc = tex2D(sceneTexture, uv).a;

// CoC-weighted vertical blur.
float2 blurDirection = coc * invViewDims * float2(cos(PI/2), sin(PI/2));
float3 color = BlurTexture(sceneTexture, uv, blurDirection) * coc;

// Done!
return float4(color, coc);
Step 2 – Diagonal Blur
Second we blur diagonally.
This stage is similar to Stage 1, but now with a 30 degree (PI/6) angle. We also combine the diagonal blur with the vertical blur.
// CoC-weighted diagonal blur
float2 blurDir = coc * invViewDims * float2(cos(-PI/6), sin(-PI/6));
float4 color = BlurTexture(verticalBlurTexture, uv, blurDir) * coc;

// Combine with the vertical blur
// We don't need to divide by 2 here, because there is no overlap
return float4(color.xyz + tex2D(verticalBlurTexture, uv).rgb, coc);
Which gives:
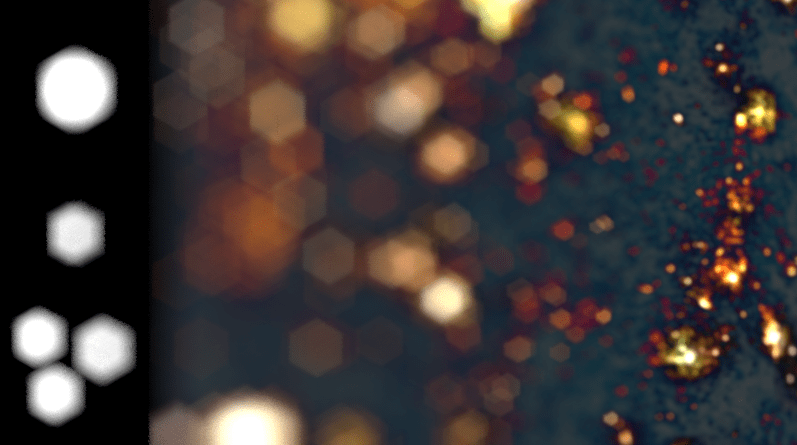
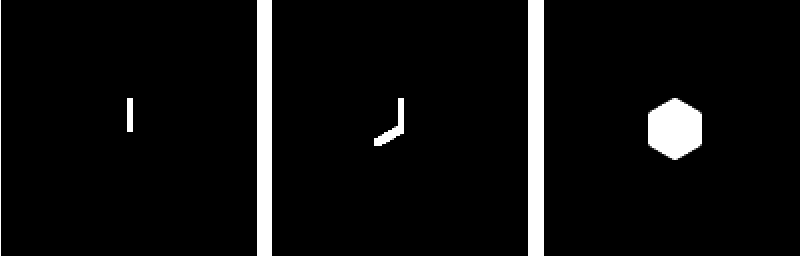
Step 3 – Rhomboid Blur
The final step is the rhomboid blur.
This is done in two parts: via a 30 degrees (PI/6) blur, as well as its reflection at 150 degrees (5PI/6).
// Get the center to determine the radius of the blur
float coc = tex2D(verticalBlurTexture, uv).a;
float coc2 = tex2D(diagonalBlurTexture, uv).a;

// Sample the vertical blur (1st MRT) texture with this new blur direction
float2 blurDir = coc * invViewDims * float2(cos(-PI/6), sin(-PI/6));
float4 color = BlurTexture(verticalBlurTexture, uv, blurDir) * coc;

// Sample the diagonal blur (2nd MRT) texture with this new blur direction
float2 blurDir2 = coc2 * invViewDims * float2(cos(-5*PI/6), sin(-5*PI/6));
float4 color2 = BlurTexture(diagonalBlurTexture, uv, blurDir2) * coc2;

// And we're done!
float3 output = (color.rgb + color2.rgb) * 0.5f;
Putting It All Together
As you can see, the code listed previously is pretty straightforward and should be a good base for you to achieve this blur. Additionally a code sample is provided here.
We can do better. Let’s do it in 2 passes!

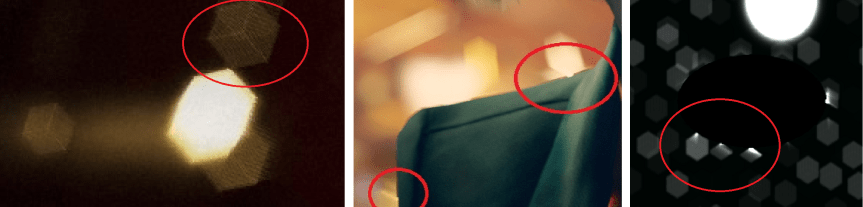
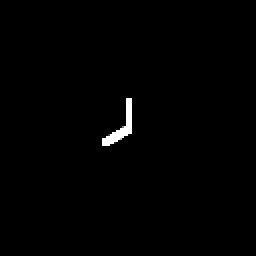
 Y-shaped Artifact
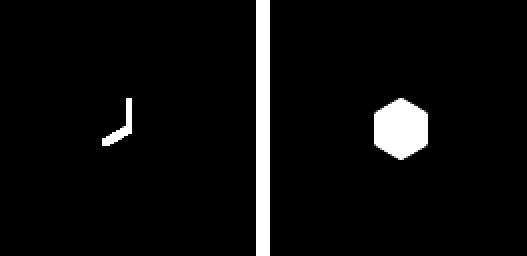
 Rhombi Overlap (Left) vs Proper Alignment (Right)
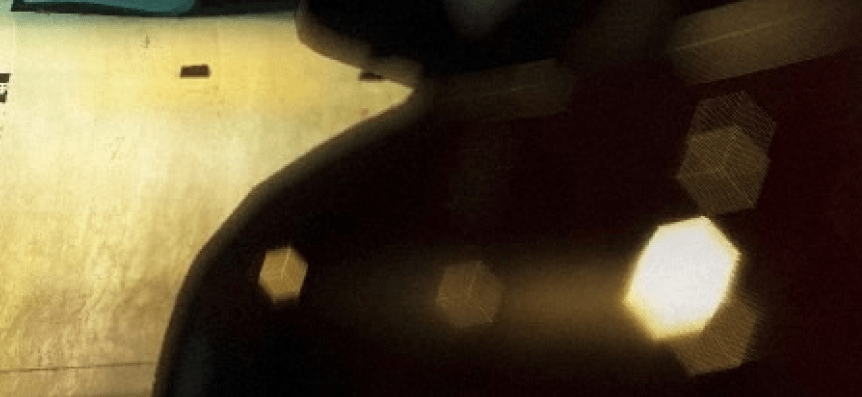
 Rotated Hexagonal Bokeh Depth-of-Field in Ghost Recon Wildlands
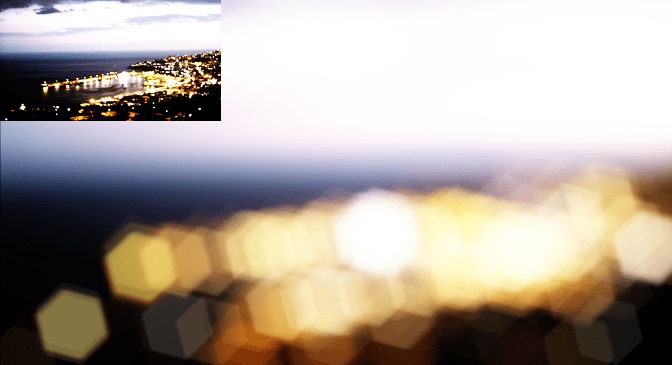


 Tom Clancy’s The Division – Ubisoft